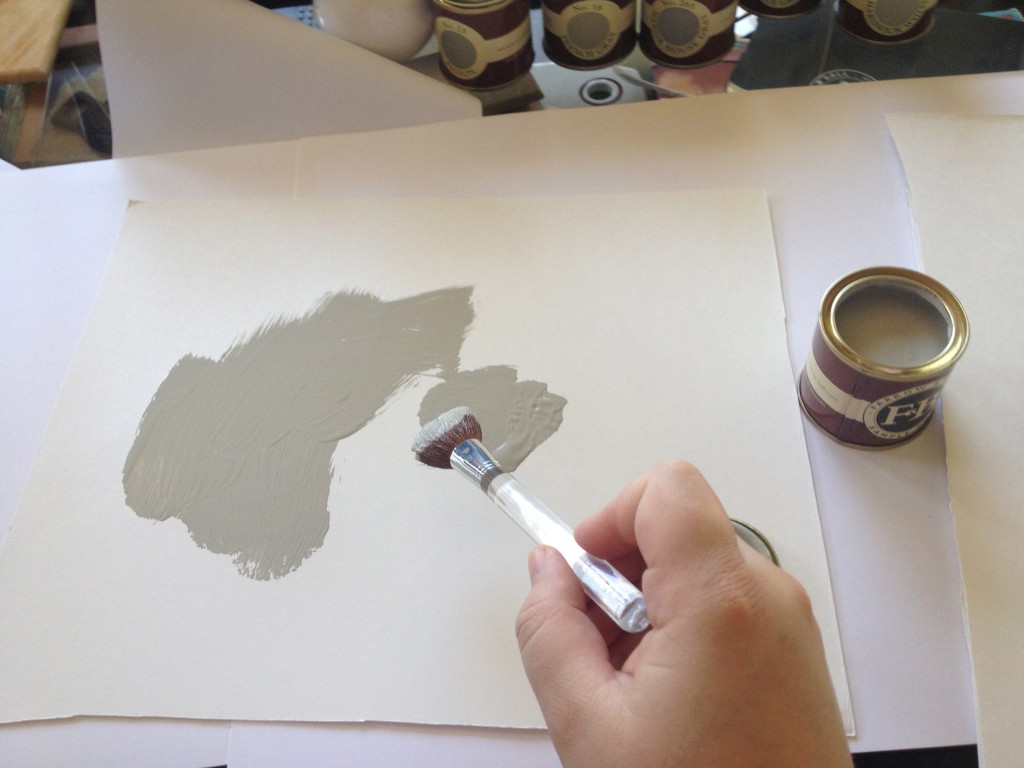
Even though I’ve been mostly stuck on bedrest lately, I was so giddy to finally choose a paint color for our living/dining room that I sucked it up and painted all six of my Farrow & Ball samples. I cut three big posterboards in half, and I used the fourth one as a makeshift dropcloth since I can’t find my actual canvas one. I banged this task out really quickly; I used a disposable Clinique blush brush from some dumb gift with purchase because I couldn’t find our paint brushes, haha. (It shed like crazy but it was fine for just this simple sample task.)
The paint dried quickly, but not quickly enough!
I followed Maria Killam’s advice size-wise, and I made these as big as possible so they would still fit in my messenger bag. I want to be able to bring them with me when I go shopping for furniture and other fabric items, to compare undertones. But I also knew that I needed to see them pretty darn big against our walls, trim, doors, and brick fireplace. It works like a charm; the colors and undertones are SO much easier this way! Here is the six grays we had picked out. Captions are misbehaving, so from left to right, they are Lamp Room Gray, Manor House Gray, Hardwick White, Pigeon, Blue Gray, and French Gray.
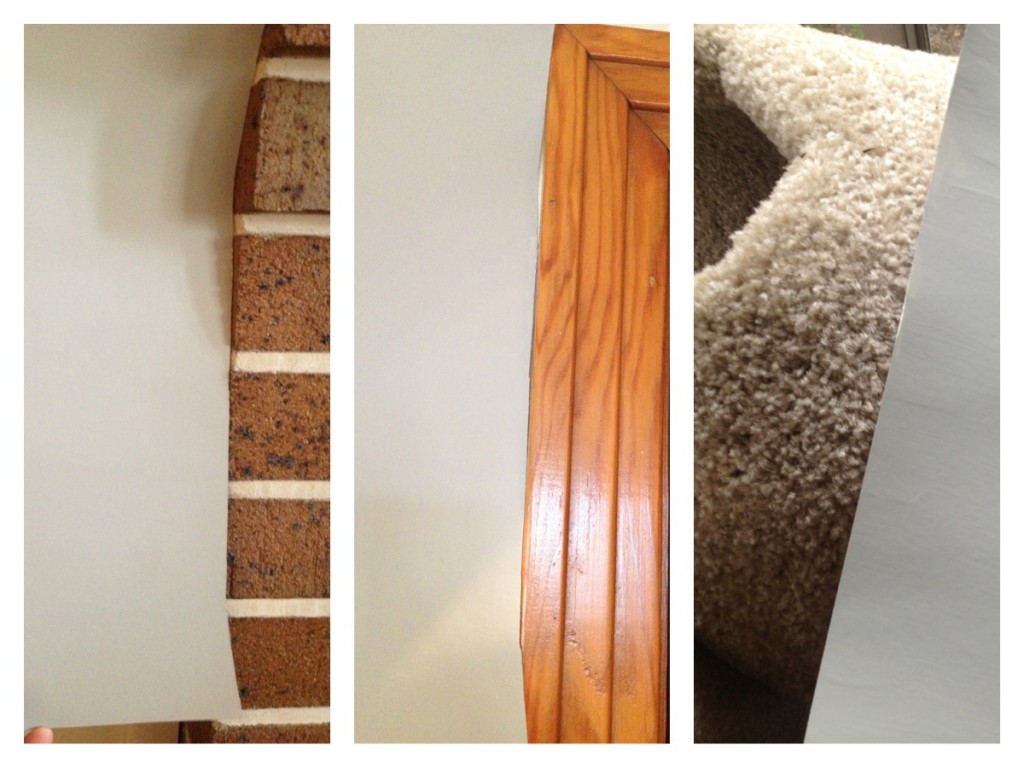
It blows my mind how much easier it is to see the undertones and the true compatibility of each color when you blow them up like this. Holding these big boards against everything really helps highlight everything. Several of these are much more green or beige than even the larger index-cardish sized store samples show, and of course the light in our house is different than the light of that store. The last three are WAY greener than we want, which is good to know.
When you’re holding them up, you have to hold them right against the fixed elements they’ll be working with. We held them against hard surfaces like trim, doors, brick, and even hardwood floors, but also against soft items like the rug, sofas, and even our big beige cat tree, haha. (I wanted to make sure it wouldn’t look like even MORE of an eyesore with new paint!)
I had suspected all along that what we really wanted was either Lamp Room or Manor House Gray, and I was right! In the image of swatches you can tell that Manor House has much more violet undertones here whereas Lamp Room reads closest to a truly pure, neutral gray, which is exactly our goal. I’ve read so much about how Farrow & Ball paints have lovely different pigments that look different in each light, so I’m sure it’ll shift a little from day to night and winter to summer, but still. Lamp Room it is! That’s the color I’m holding against our fixtures above.
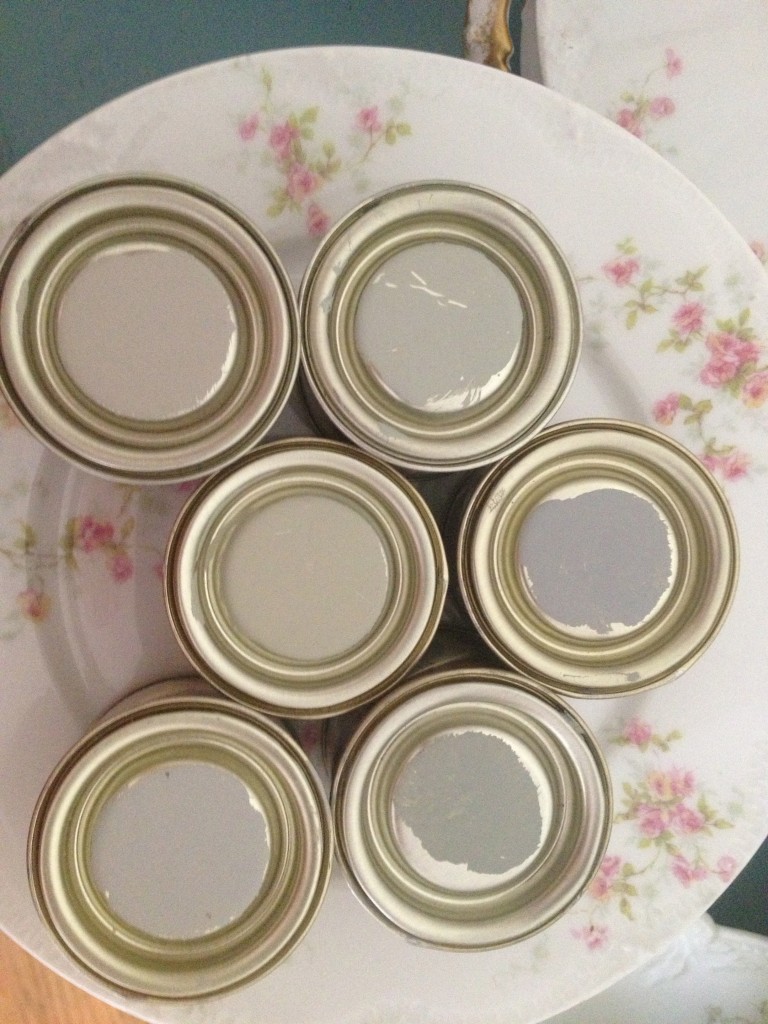
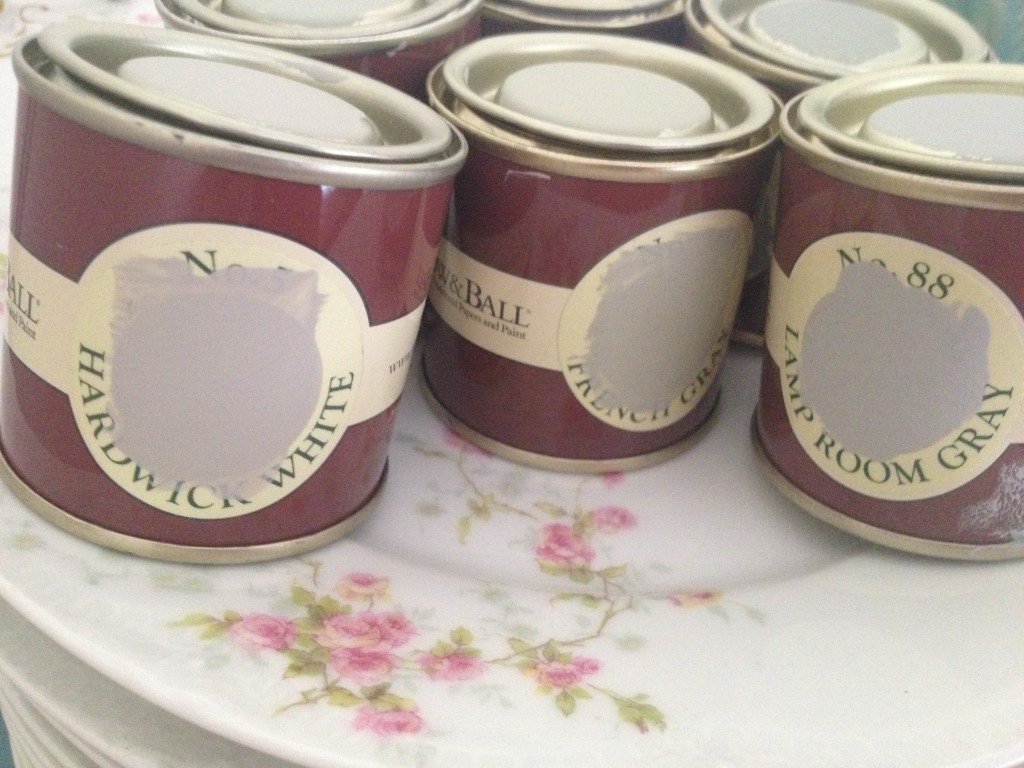
One smart thing I did (even if it’s perhaps pointless now) is that I painted the tops and the labels of each can, like so:
The labels have really terrible pixelated color dots that are not good representations of their contents, so this will be much more accurate if I ever use these for projects down the road.
I don’t know when we’ll be able to actually paint our walls, since I will have to run to Portland again for more F&B paint if I do decide to go with that. But I might take this to Home Depot and see about getting them to color match Lamp Room Gray in a cheaper brand, just in case that’s as satisfying a result (of course I’d do the same sample trick with that to be certain). Or maybe we’ll just suck it up and have it shipped. I honestly have no idea how much I’ll need, but the samples that look best are the ones with really thick coats, so I know I won’t want to have to skimp on the walls.
Also, we might try to find a good lighter shade for the ceiling, and possibly a slightly darker one for the crown molding. Still deciding on that part. If we do that, we’ll have to get extra trim to seal off this one awkward bit where the molding ends at our staircase, because it would drive us crazy not to have a clear definition there of where the ceiling paint should end and the wall paint should begin. One thing I’ve decided for sure is that I’m painting it myself if we do it to save money, because it’s just not that hard if you suck it up and go for it. After all, why do I work from home if not for the flexibility to tackle things like this? :)
Anyway, I urge other Styler Curers out there to take time to paint large samples and really compare them against the elements that are going to remain in your cured room, as well as against the new items you’ll be moving in there. You’ll be glad you did! Go buy Maria’s book if you need more guidance than this post. :)

